Within your Customer Portal, You can add a list of contacts for your account and determine who gets sent notifications about your accounts, domains and services.
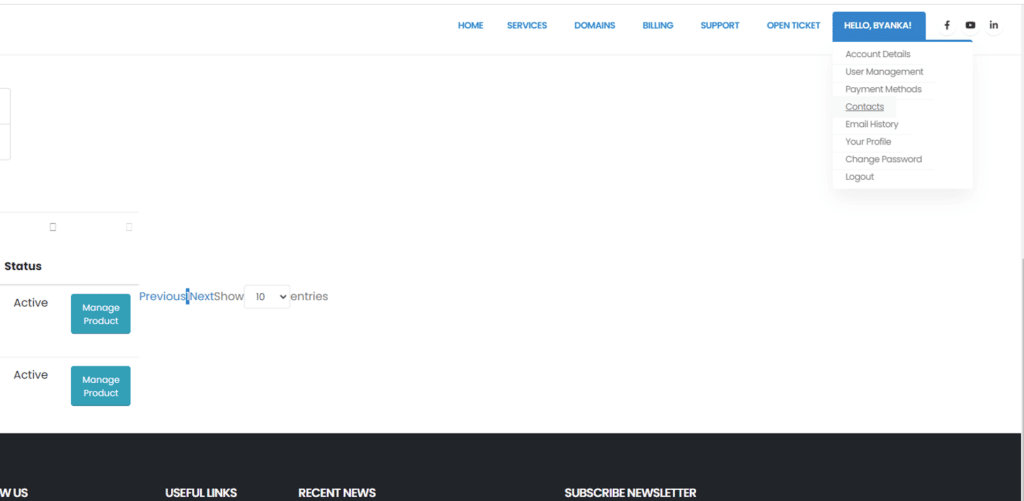
The Contacts tab is accessed via the Hello, Client! > Contacts page. It contains fields for viewing client contacts and sub-accounts as well as adding or deleting them.
Adding a Contact
To add a new contact, choose “Add New” from the Contacts dropdown menu at the top of the tab. Empty fields will then be displayed to enter the new contact details.
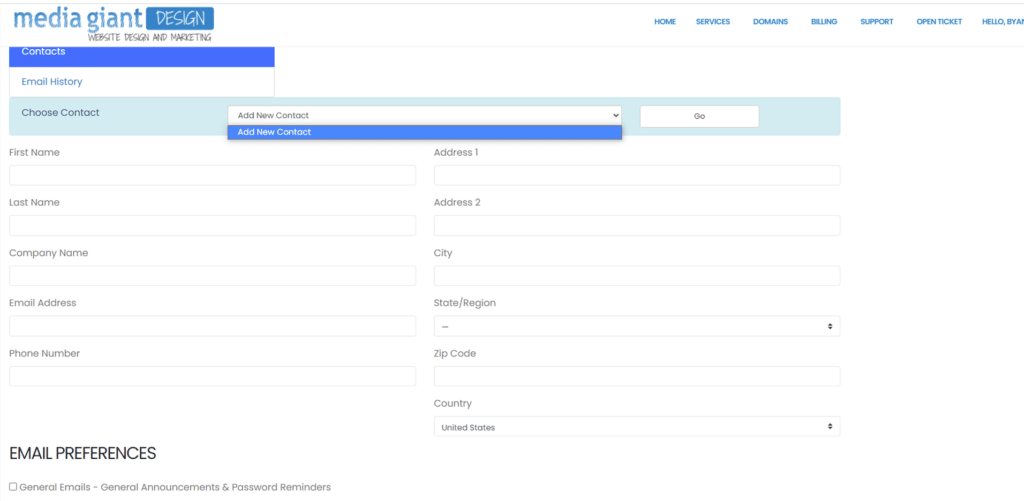
The minimum required fields are First Name, Last Name and Email Address. All the other fields are optional and the Email Notification checkboxes allow you to set which email categories the contact should receive copies of. Once completed, simply click the Save Changes button to complete the process.
Clients can also manage contacts from the client area themselves.
Note: Support contacts do not receive copies of all support tickets. Support contacts can open tickets themselves via email and will only receive emails when an admin replies to a ticket they opened. The main client will receive copies of all Support Tickets.
Managing Contacts
If you have created one or more contacts already, the first of these will be displayed when the tab is first opened.
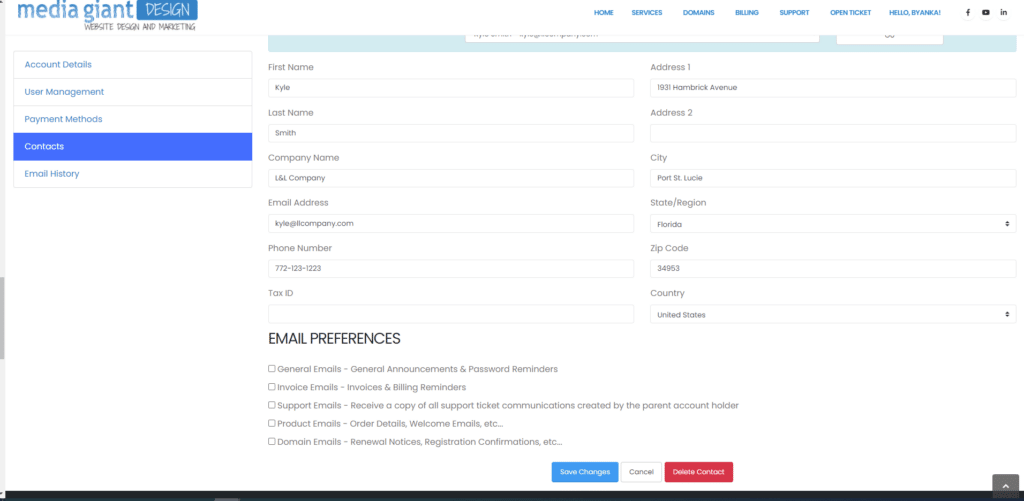
If you have multiple contacts, select the contact whose details you wish to see using the “Contacts” dropdown at the top of the tab and click “Go“.
Make the desired changes and click Save Changes.
Deleting a Contact
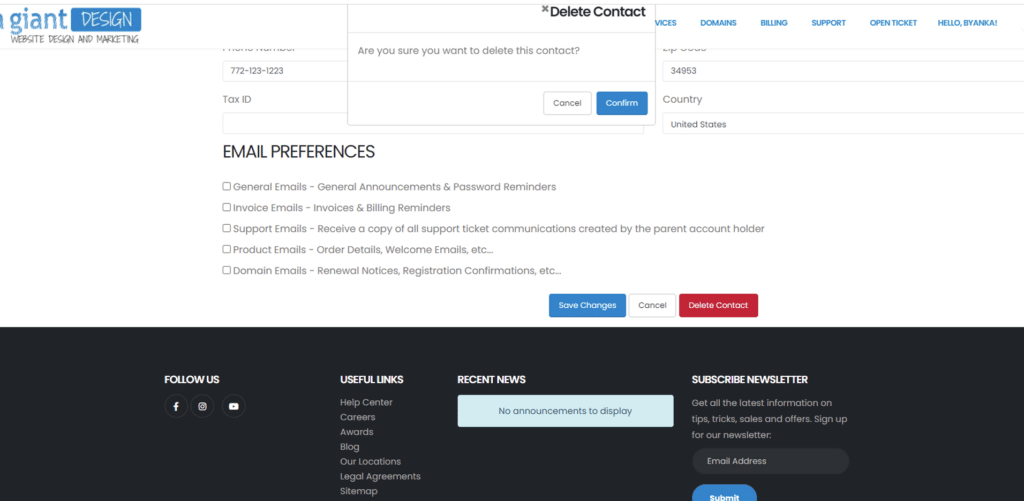
To delete a contact, click the red “Delete” link at the bottom of the page. You will be prompted to confirm the deletion, at which point the contact is removed immediately.


 .
.

